
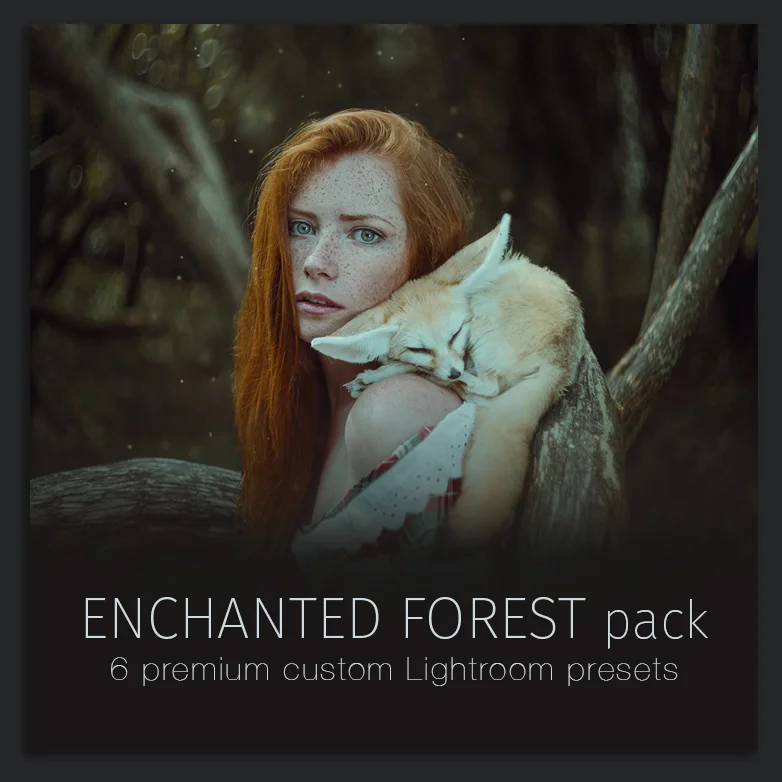
6 premium author's custom Lightroom & Camera RAW presets. They were created based on actual artwork from the portfolio. Perfect for fine art photography and those who like to experiment with color.
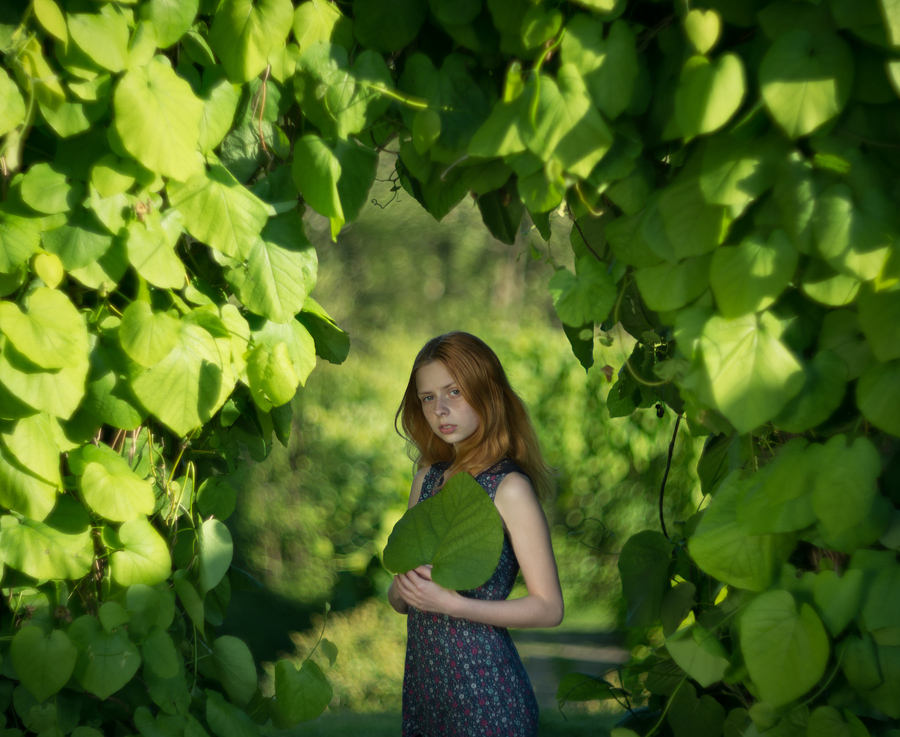
Enchanted Forest pack presets give earthy muted colors to your photographs. This pack provides soft contrast and washed out tones. Some of the presets add a nice teal&orange color scheme. Perfect for portraits in the green scenery such as forest, park or just trees. Make dryads and forest fairies come to life with the Enchanted Forest presets pack!
Work on both RAW and JPG images
Work with Lightroom 4 and above
Work with Camera RAW
I have worked very hard to ensure that the Enchanted Forest pack works on a large range of images, however, you may have to adjust the settings to suit your needs. Each preset may require exposure and temperature adjustment depending on how your picture was shot.
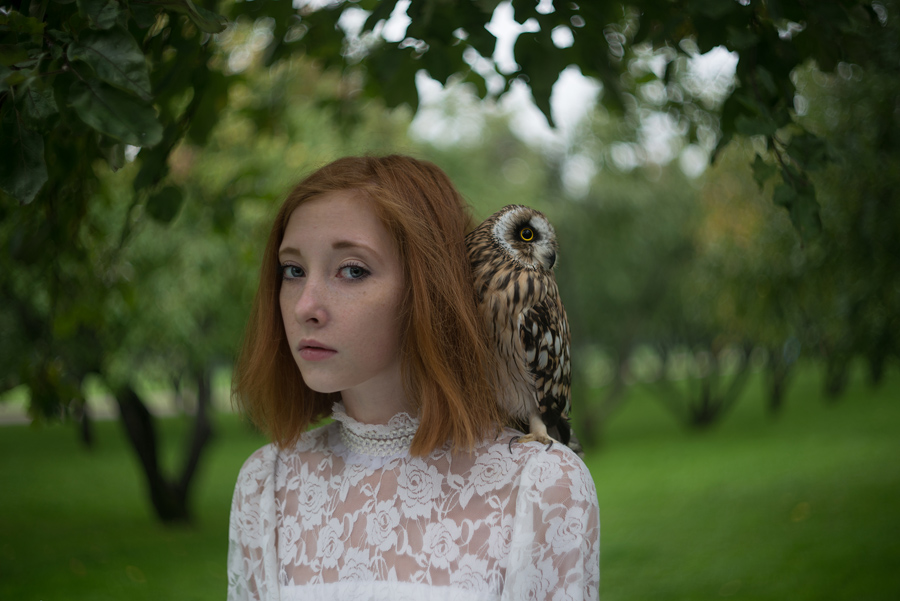
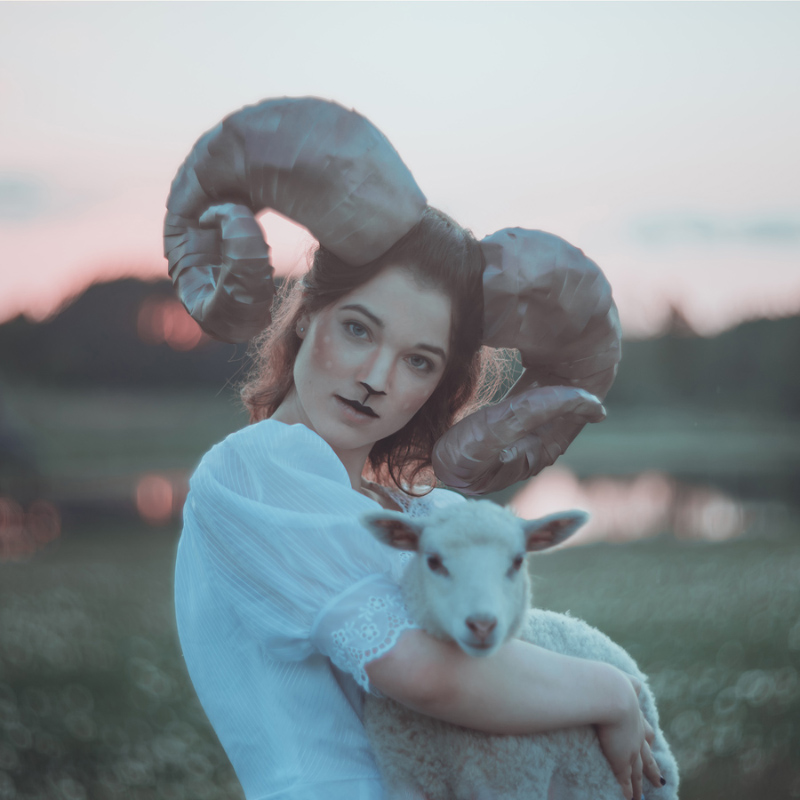
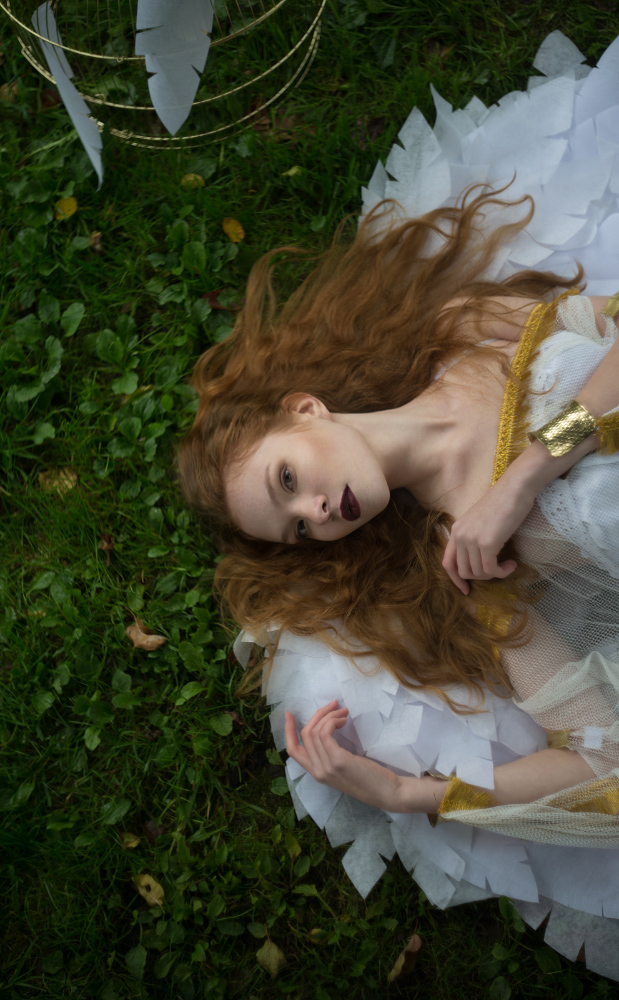
A L O O K I N T O T H E P A C K
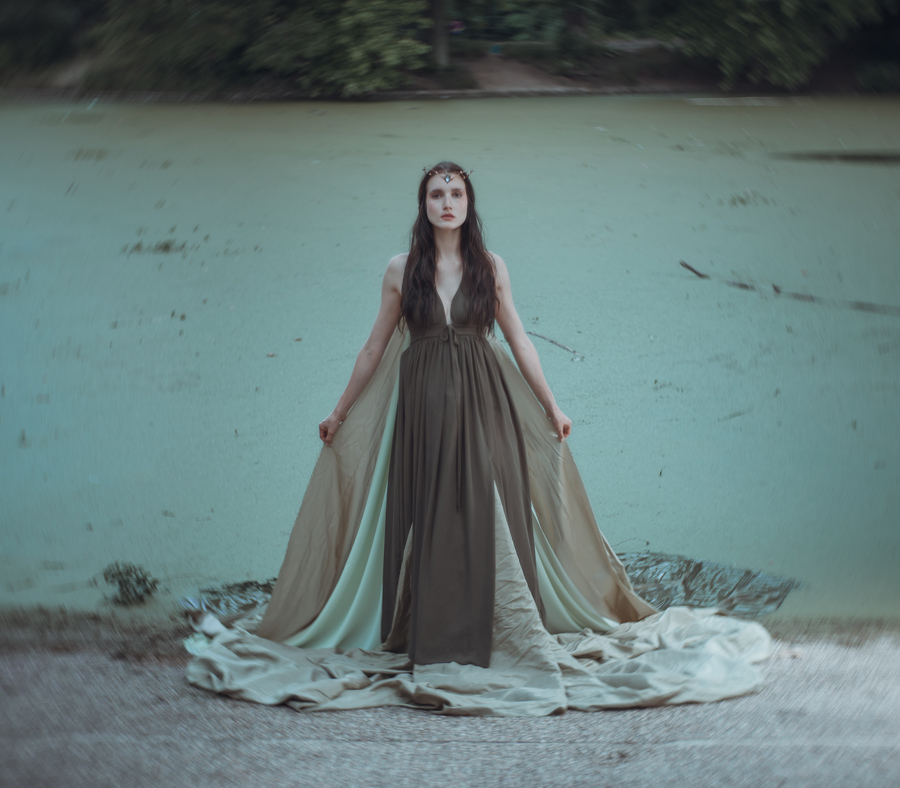
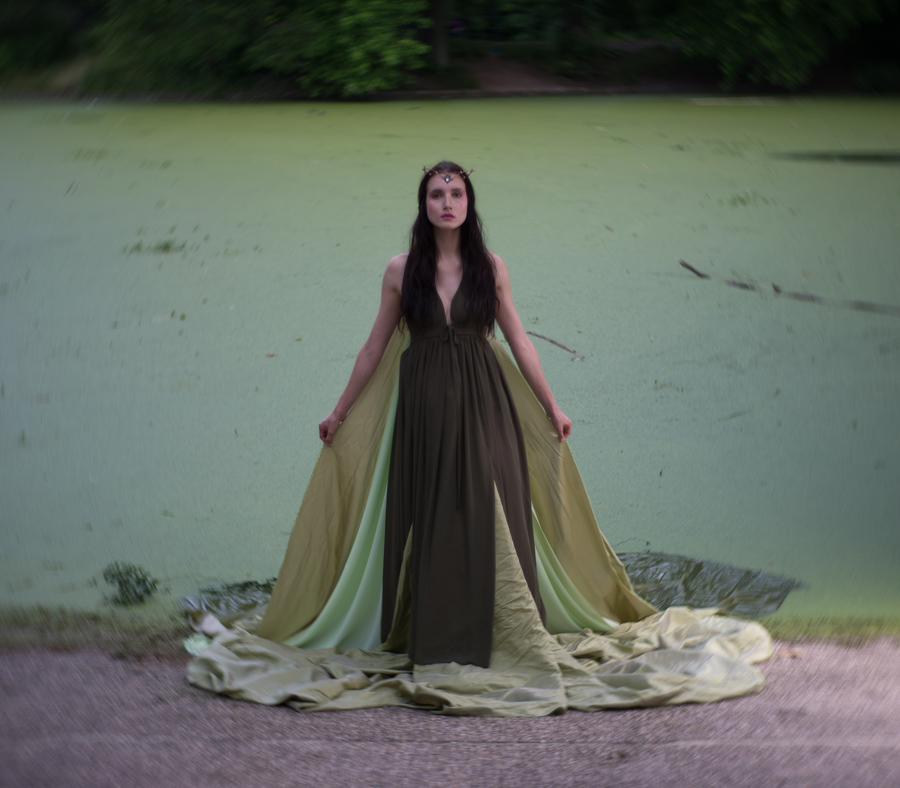
Here's a set of before and after images that I created with these presets, to show you the direction you can expect from these presets.


H O W T O I N S T A L L P R E S E T S
For LIGHTROOM 4-6:
Open Lightroom
Go to: Edit (or Lightroom (Dialogue) fpr Mac) • Preferences • Presets
Click on the box titled: Show Lightroom Presets Folder
Double click on Lightroom
Double click on Develop Presets
Copy or move your new presets or presets folder into the Develop Presets folder
Restart Lightroom and your presets should be in their own category!
or
Open Lightroom
Go to Develop Module and find the Presets menu on the left side of the program
Choose User Presets and, if desired, create a new folder with right-click for the presets by selecting New Folder and type the folder name.
Right-click User Presets (or new folder you've created) and click Import.
Navigate to where you saved the preset files you downloaded, select them.
Click Import
The presets will be added to your Lightroom Preset collection.
Chances are that one will be applied to your image too! Press Control + Z (Command + Z on the Mac) to undo it.
For LIGHTROOM 7.3 AND UP:
First, in Lightroom, go to the Lightroom Preferences (NOT Catalog Preferences) and make sure that the "Store preset with this catalog" option is not checked.

Then, navigate to the Camera Raw > Settings folder and copy the .xmp preset files to that folder. Here is an alternate method of locating that folder:
Mac: ~ / Library / Application Support / Adobe / CameraRaw / Settings
Windows: C: \ ProgramData \ Adobe \ CameraRaw \ Settings
Or you can access the folder with this method:
Open Lightroom CC (make sure it is updated to the new version)
Go to Lightroom > Preferences
Click the "Preset" section at the top
Click the "Show Lightroom Presets Folder"
Ignore the folder it highlights, and instead go up to the Camera Raw folder and open it
Open the Settings folder and copy your .xmp presets files into this folder
Restart Photoshop or Lightroom Classic and the presets/profiles should be installed.
For CAMERA RAW:
1. Open your image in Camera Raw
2. Click on the right side of Basic menu (Red Circle). Then, choose Load Settings.

3. Choose .xmp file from downloaded and unzipped folder. Then click on Load button.
4. To apply effect, click on OK button.
R E F U N D P O L I C Y
Feel free to contact me if you have any questions, concerns or problem with installing. I do not offer any refunds due to the nature of the product but I'll gladly do my best to help solve any problems arises with working with presets!
F E A T U R I N G Y O U R P H O T O S
Please send me your images created with my presets via email or share on Instagram using hashtag #anyaantipresets for your chance to be featured on my website and social media!